
 |
1Identify the door material and utilize the appropriate screw for metal or wood door mounting. 3M adhesive mount is also available. |
 |
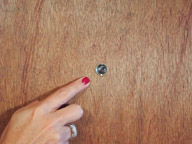
2Center the backing plate over the peephole. Assure that the backing plate is level. |
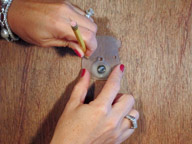 |
3Mark mounting holes to assure alignment during screw installation. It may be necessary to start the screw hole with a punch and hammer in some cases. Be sure to mark both mount screw locations on the door. |
 |
4Install screws. Be cautious as to not over tighten and damage backing plate. |
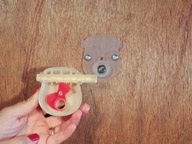 |
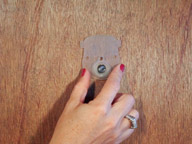
5Install body assembly by pressing into place over backing plate. |
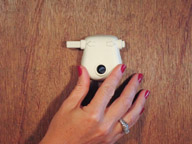 |
6Press firmly into place. body assembly will "snap" into place. |
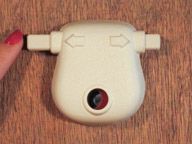 |
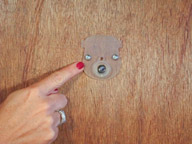
7Now that the peeperSTOPPER is installed, test its operation. Press slide rod firmly to open and close view port. |
 |
8Installation and testing completed! Please note that the view port is red when obstructed. |